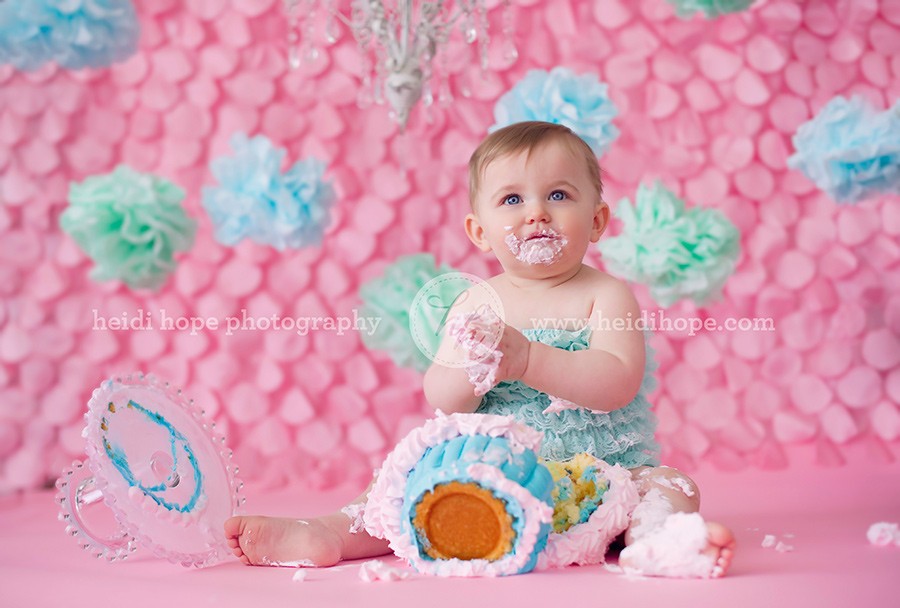
Along with our tulle balls, tissue paper pom poms have made several appearances in our photoshoots, especially cake smashes! They’re also really easy and cheap to make, and are fabulous decorations for parties and kids’ rooms!
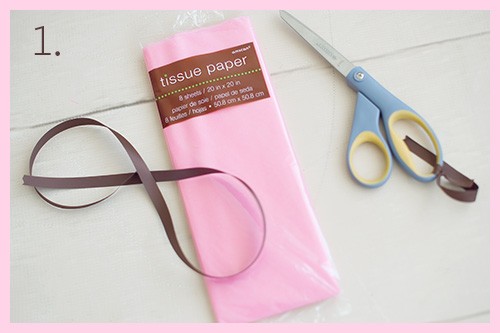
1. Gather your materials: Scissors, 8 sheets of tissue paper (you’ll want to use at least 6 sheets to have a full enough pom pom), and a ribbon about 12″ long.
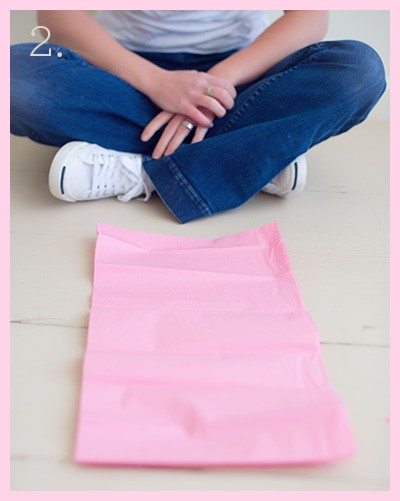
2. We make our pom poms small, because they’re usually in the background of a baby’s shoot. Here, we took a stack of 8 tissue paper sheets and cut them in half lengthwise. The short side of your stack will end up being the width of your pom pom, so you can make them as big as you want.
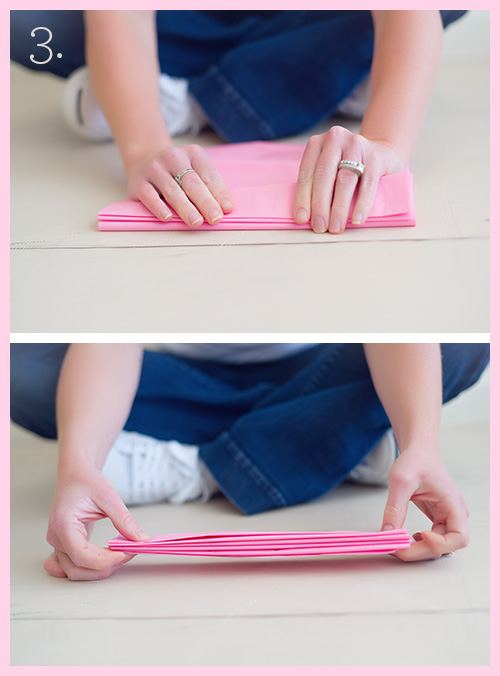
3. Fold the stack in an accordion, all the way to the end. Make sure the short side of the stack is toward you.
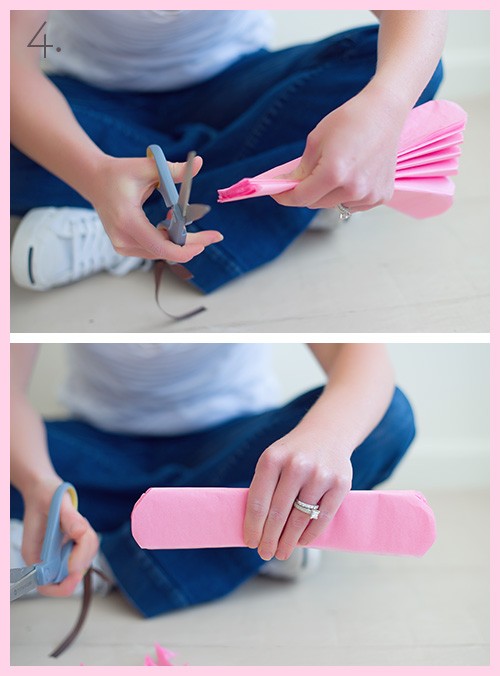
4. Cut the ends of the accordion so that they’re rounded. You can also cut them into triangles or squares for a different texture on the outside of your pom pom.
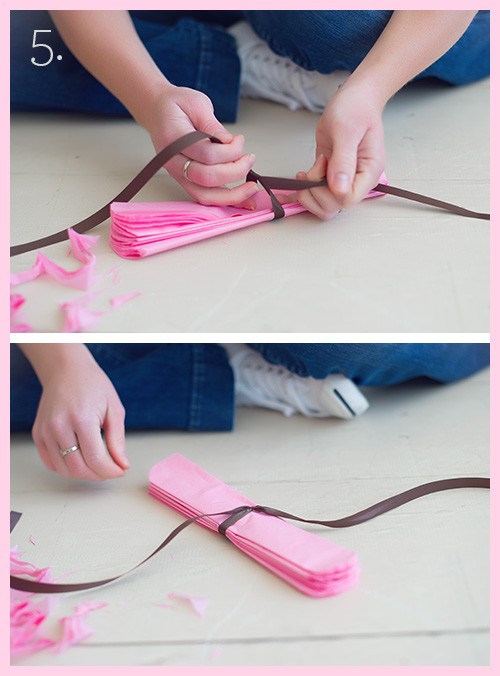
5. Tie your ribbon in the middle of the accordion. Not too tight! If you tie it really tight, it will be hard to separate the tissue paper sheets.
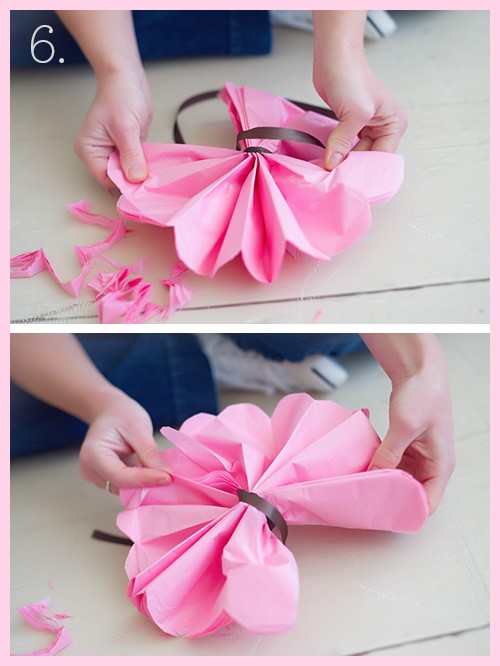
6. Fan both sides of the accordion out.
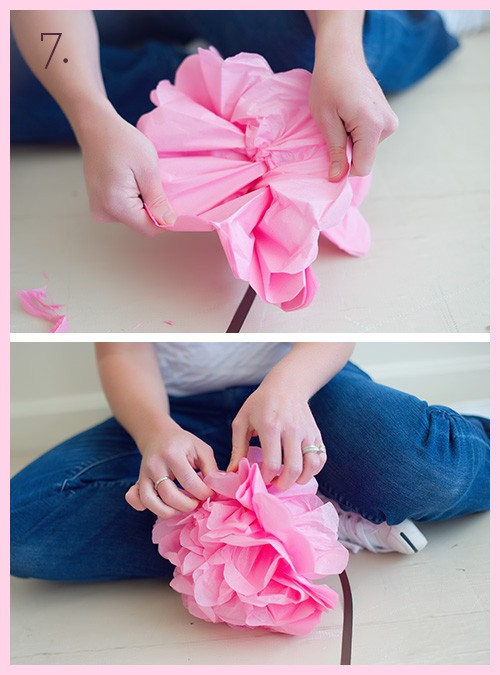
7. Start gently pulling each individual sheet of tissue paper apart. This sounds tedious, but it’s actually really quick! You might rip a few sheets, but it won’t show in the finished product if you have enough tissue paper layers. Keep peeling apart until you have a whole pom!
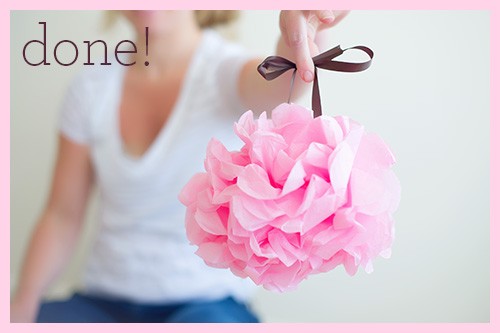
8. You’re done! Fluff the pom pom to taste. You can use the ribbon to make a decorative loop, or cut the ends off. Make lots and lots of them and use them as decorations (like the ceiling of our studio), in photoshoots, or at parties!

Trackbacks/Pingbacks